Share Files From Backblaze B2 Storage Using FTPS Service
Share files from Backblaze B2 storage with utmost security using FTPS service with the help of NirvaShare. Users can choose any of the popular FTP clients for accessing the shares.
Prerequisites
In order to share Backblaze B2 storage files using FTPS you will have to initially install NirvaShare in your system environment manually and for this please refer the below documentation.
To configure the storage, please refer to the documentation below.
Installing FTPS Service
The default NirvaShare installation process does not involve installation of FTPS service. If you wish to share files using FTPS, you will have to install FTPS manually for which the detailed procedure is given in the below document.
Configuring FTPS Service
The built-in FTP server in NirvaShare has to be enabled and configured before attempting to share files through FTPS. The following document will help in configuring the same.
FTPS Login Profile
In order to create a Login Profile in NirvaShare, you can make use of the following steps.
- Log in to the Admin console of NirvaShare as an administrator.
- Click on Login Profile from the left menu of the admin console.
- Click on CREATE button from the top right corner.
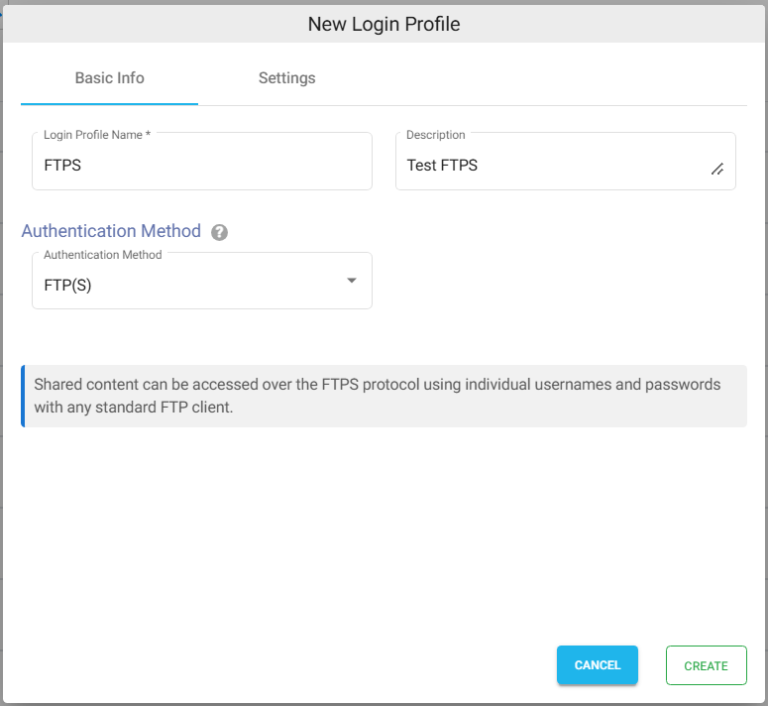
- Under the Basic Info tab, provide a name for the Login Profile Name and an optional description.
- For the Authentication, select FTP(S).
Settings
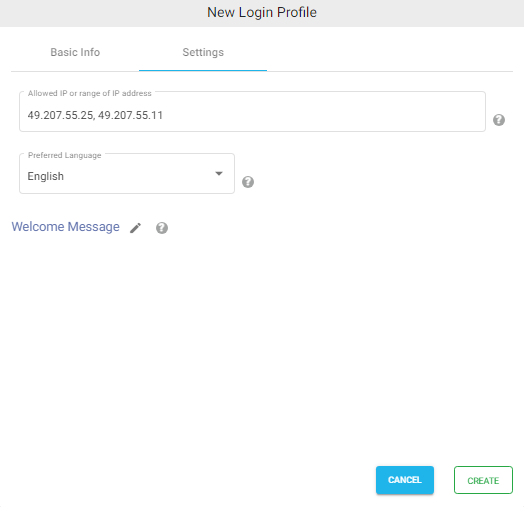
- Click on the Settings tab.
- (Optional) To restrict access to only certain white listed IP address or a range, please refer to Access Restriction with IP Address
- Choose the language in the Language field. By default it is set to English.
- While accessing this share, a welcome message can be displayed to the user. Please refer to Welcome Message for the Share
- Click on CREATE button to create the Login Profile.
Shares
Now we can use FTPS to share Backblaze B2 Storage files or folders. To do this, we can create a Share against a folder/file from Backblaze B2 storage. The below document will help you to create new Share from the storage. During the Share configuration, ensure that you select the login profile created in the above section for FTPS. You can also create one or more shares and assign the same login profile.
Creating FTP Users
Users are those users who just need access to files but do not necessarily need admin privileges like managing shares, login profiles, etc. Access users like employees, customers, partners, etc. can only perform file actions such as download, upload, delete, etc. based on the permission given to them.
- Click on Users from the left menu of the admin console.
- To create a new User click on CREATE button on the top right corner.
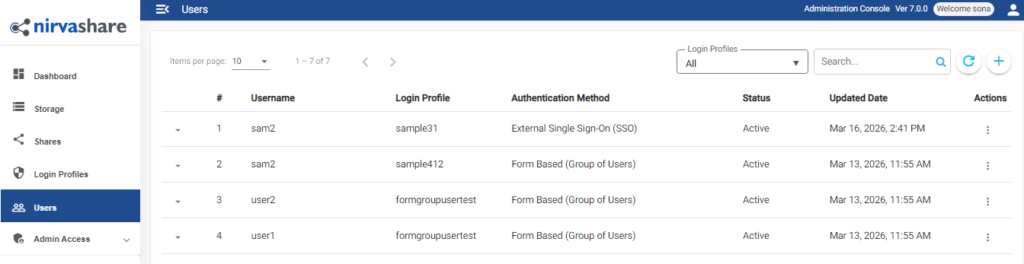
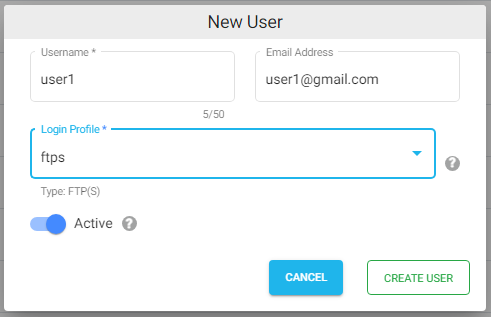
- Provide Username and Email Id.
- Select the authentication method as FTP(S) and select a login profile from the dropdown.
- Enable Active
- Click on CREATE USER.
At any point, login profile and other user information can be changed by editing the user. To set a new password, please check HERE
FTPS Client
FTPS Client is a software that is required by the computer to communicate with the FTPS server. There are many popular clients, such as FileZilla, Win SCP, Coffee Cup etc. that can facilitate efficient file transfers.
- Once configured, you can use any FTPS client like Filezilla and connect to the server using the host name.
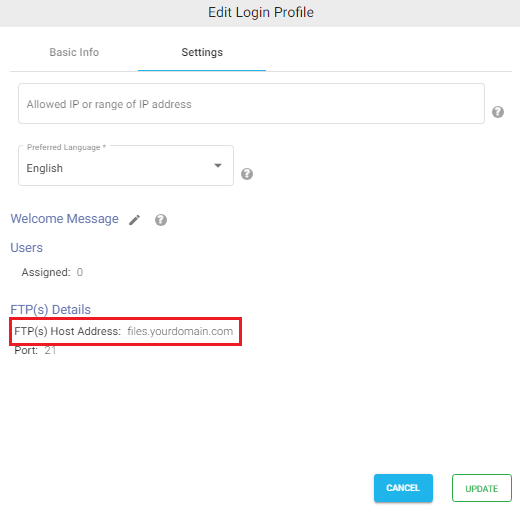
- In order to know the host name, edit the ftps login profile created above.
- Click on the Settings tab to know the host name.
- Connect using port no. 21
- Provide a username and password to connect with the FTPS client.