Backblaze B2 Storage Configuration using Access and Secret Keys
Backblaze B2 Storage configuration with NirvaShare can be configured using access and secret keys obtained from Backblaze cloud console. In this document, we will look into the process of creating the access and secret keys and configuring the storage using NirvaShare.The detailed procedure is given below.
Access keys
Application API keys from your Backblaze account are required to configure NirvaShare for storage. To create application keys, follow the steps below.
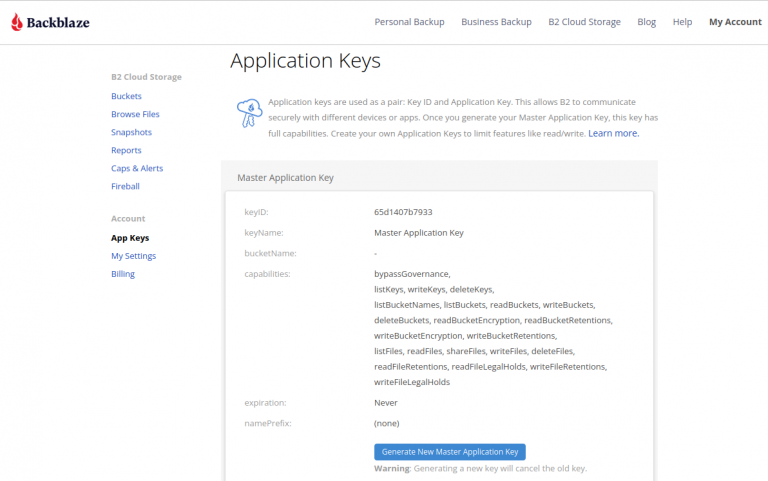
Login to Backblaze account and from the left menu list, click on App Keys.
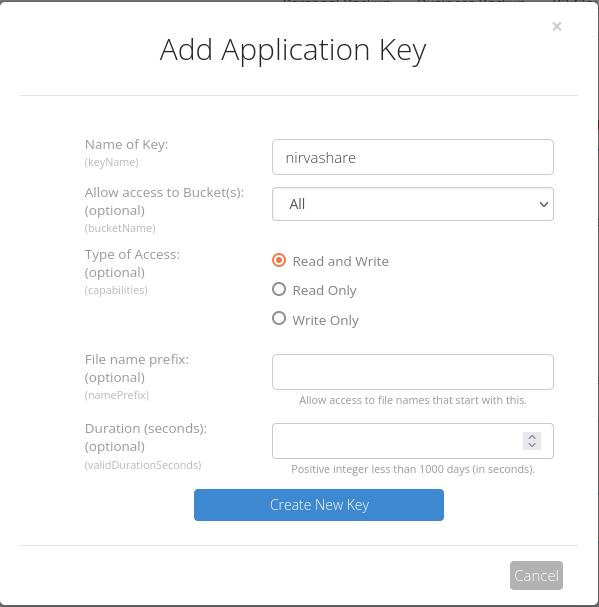
Click on Add a New Application Key.
Provide any name and click on Create New Key.
This will generate new keys, copy the KeyID and application Key.
Note – In the further documentation, KeyId is referred to as Access Key and Application Key as Secret Key.
Endpoint URL
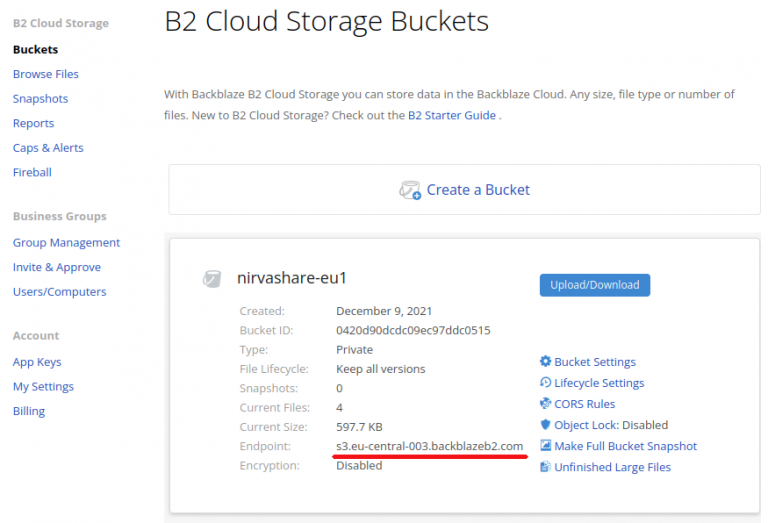
You will also require Endpoint URL of the bucket storage to configure NirvaShare. To know your account’s end point URL, click on Buckets from the left menu list and make a note of the Endpoint URL.
Now that you have Access key, Secret key and Endpoint URL, next step is to proceed with the configuration of NirvaShare for storage access.
Storage Configuration
The obtained access credentials will have to be configured in NirvaShare to provide access to storage and the below outlined steps should be followed.
Login to Admin Console of NirvaShare.
Click on Settings in the left menu.
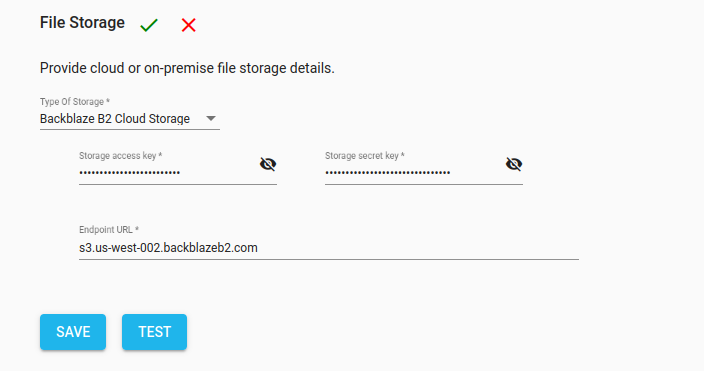
Edit the File Storage under the settings page.
Select Backblaze B2 Cloud Storage.
Provide the access key, secret key and end point URL.