Google Storage Configuration using JSON Authentication Key
Google Storage configuration with NirvaShare can be done using Authentication key obtained from GCP. In this document, we will look in to how to create the key and and configure the storage in NirvaShare.
Authentication Key
To configure the GCP storage in NirvaShare, please follow below steps.
From the left menu, click on Service Accounts, this will list the existing service accounts if any.
Click on Create New Service Account.
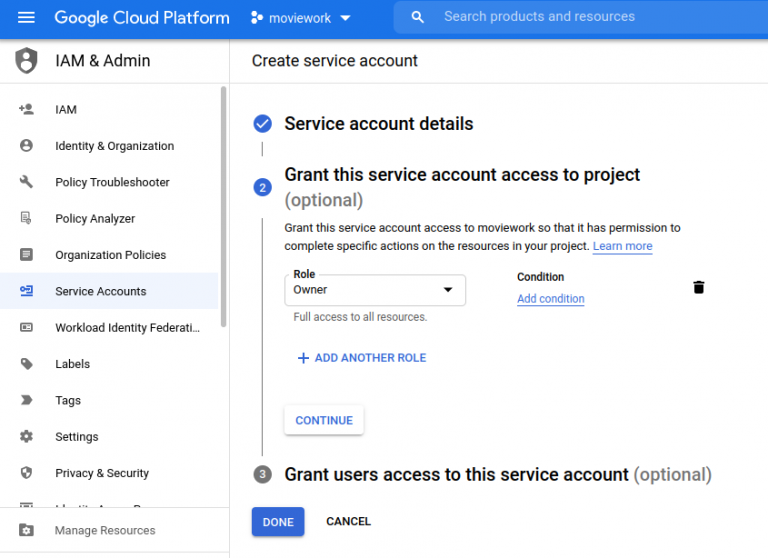
Provide necessary details like name, id, etc and click on Create and continue.
Click the Select a role field.
Under Quick access, click Basic, then click Owner.
Click Continue.
Click Done to finish creating the service account.
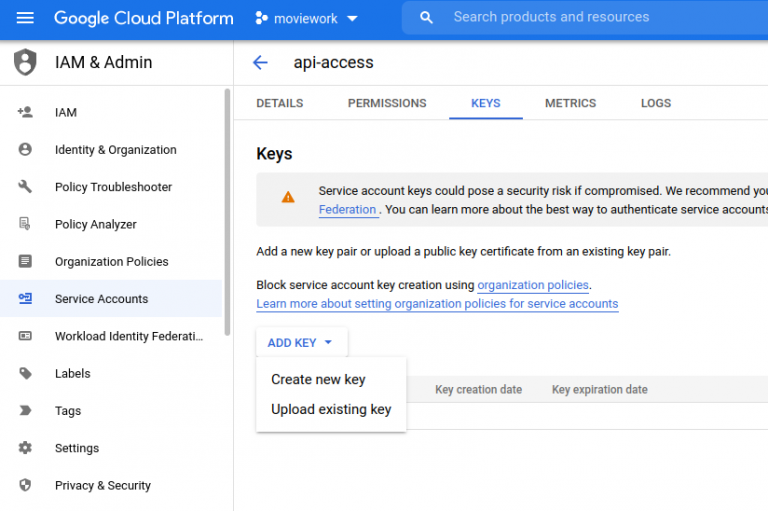
From the Service Account list, select the one that we created.
On the top, click on Keys tab.
Let us create a new key, from the ADD KEY menu, click on Create New Key.
For Key Type, select JSON and click on CREATE.
This will download a json file, keep this file safely.
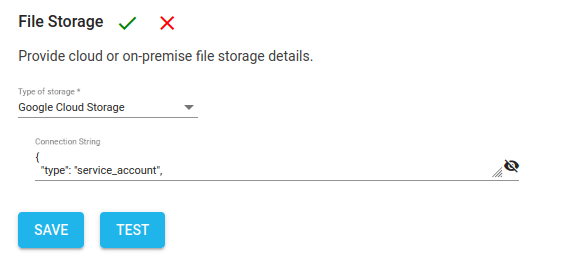
This JSON content is needed while configuring storage in NirvaShare.
During the course of NirvaShare configuration which will be discussed in the next secton, copy paste the content of this JSON file for the storage details.
Storage Configuration
The obtained JSON authentication key will have to be configured with NirvaShare to provide access to the storage and the below mentioned steps must be followed.