How To Share Files From Oracle Storage With Okta Users Using SSO
In order to share files from Oracle storage with Okta users using SSO seamlessly, you can make use of NirvaShare. NirvaShare is a secure file sharing and access management platform. This document further makes the process simple with its detailed procedure for integrating Okta identity provider with NirvaShare to share files and govern access from Oracle storage.
Prerequisites
To share files from Oracle storage with Okta users, you have to initially install NirvaShare and configure its storage. The procedure for installation is provided in the following document.
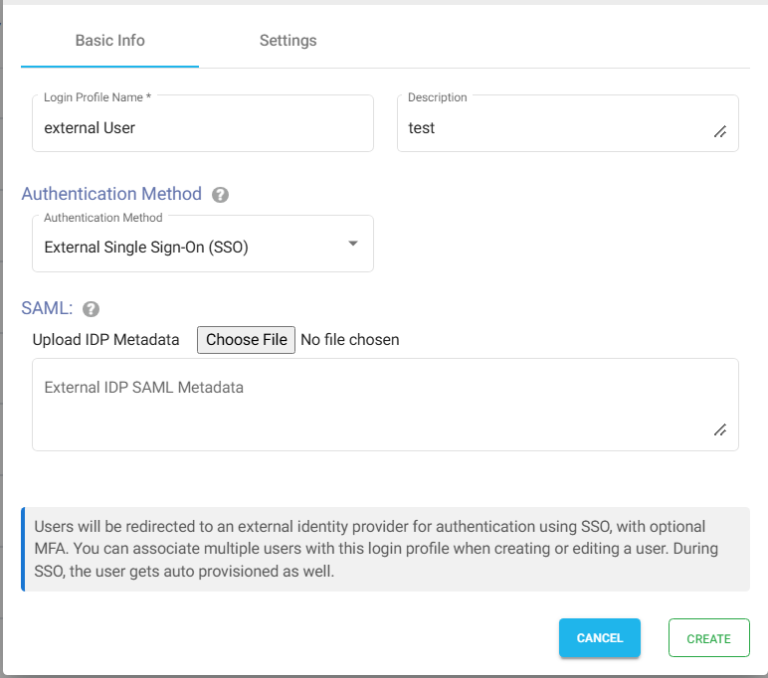
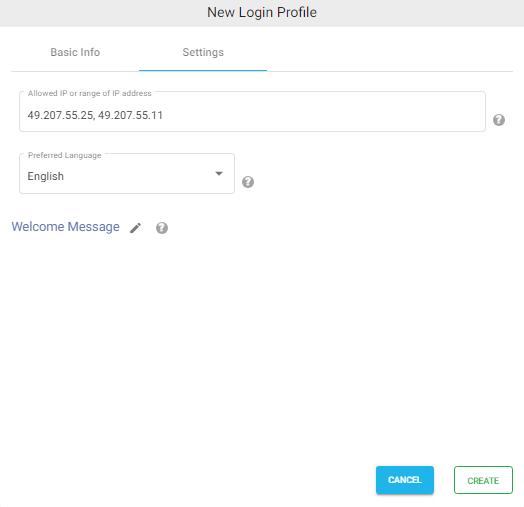
Choose the language in the Language field. By default, it is set to English.
(Optional) While accessing this share, a welcome message can be displayed to the user. Please refer to Welcome Message for the Share
Click on CREATE button to create the Login Profile.
ACS and Entity Id/Metadata URL
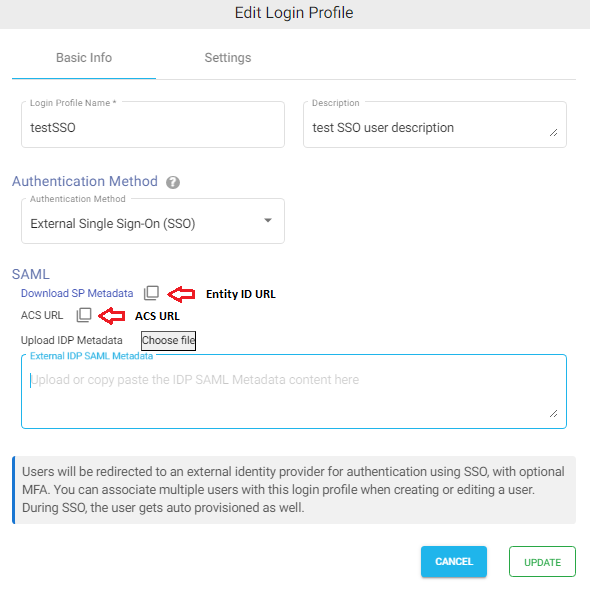
In most cases, while configuring the identity provider, you can directly upload NirvaShare SAML metadata file, but however with certain identity providers like Okta, instead of metadata file, you will require ACS and metadata URL. In those cases, use the ACS URL mentioned in the login profile. For Entity ID, use the Metadata URL.
Edit the newly created Login Profile.
Note down the Entity ID URL and ACS URL, these two values will be required while configuring Okta.
Okta Configuration
To integrate NirvaShare with Okta, a SAML application has to be created in Okta and the steps mentioned below should be followed
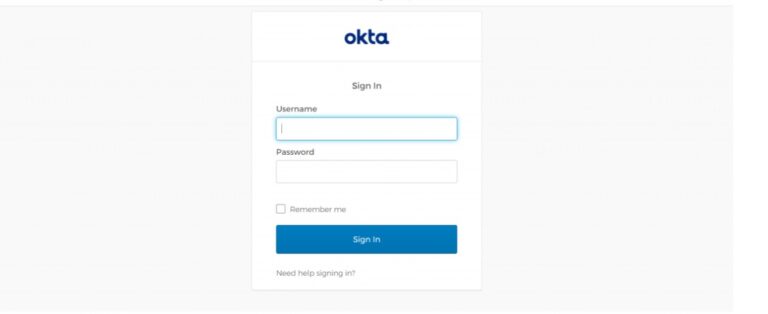
Sign into Okta console as an administrator.
Now go to Applications at the left side of the menu and click on Applications in the Okta console.
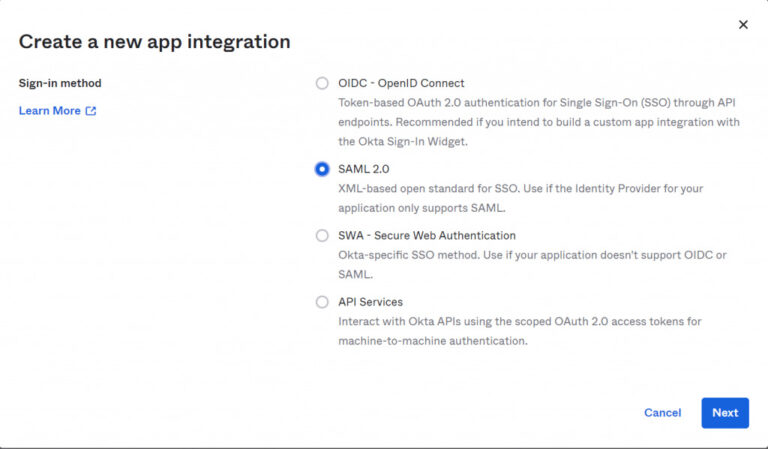
Click on Create App Integration.
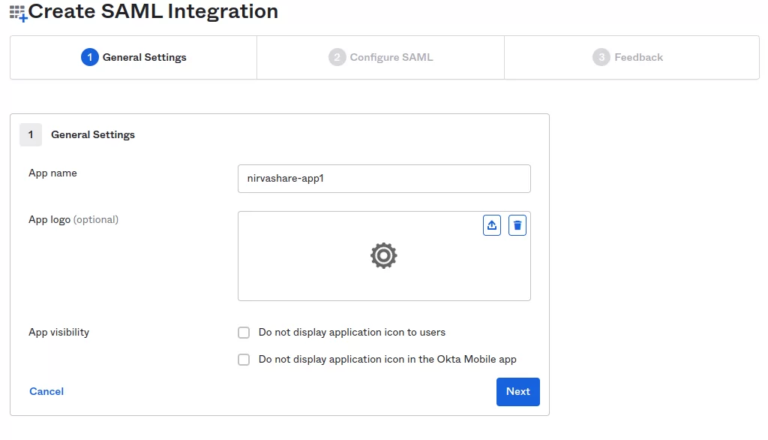
In the pop-up page for Sign-In method, select SAML 2.0.
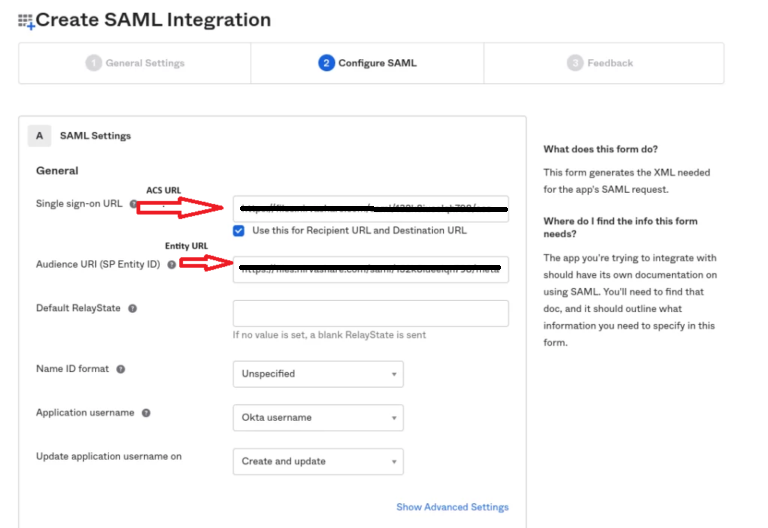
The next screen will ask for ACS and Entity Id URLs of NirvaShare obtained in the previous section.
Enter ACS URL in the Single Sign On URL field and select the option to ‘Use this for Recipient URL and Destination URL’.
Enter the Entity Id URL into the Audience URL field, this URL contains the SAML metadata of the NirvaShare login profile.
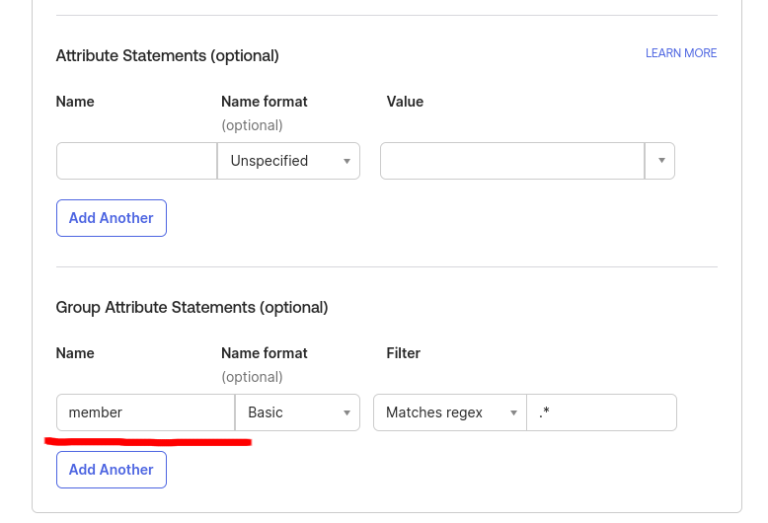
Leave the attribute statements (optional) field blank.
Scroll to Group attribute statements.
Type in member in the Name field, choose basic in the Name format drop down, Matches regex in the filter drop down and key in“ .* ”in the filter field.
Click on Next to move onto the feedback section.
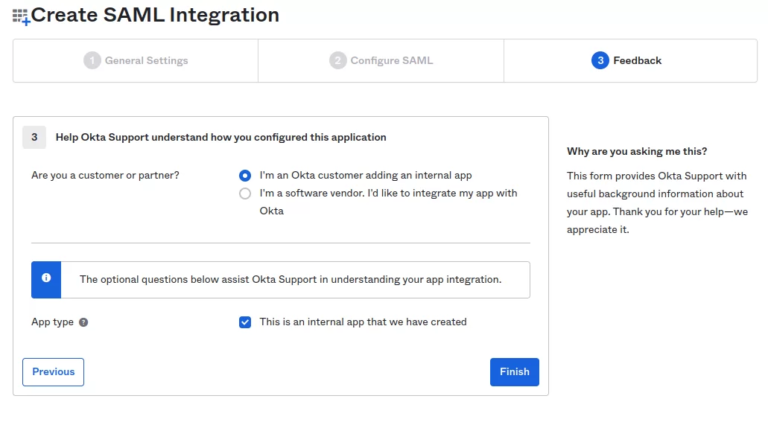
In the feedback section, select the option that says” I’m an Okta customer adding an internal app” and also check the option This is an internal app that we have created.
Now click on Finish.
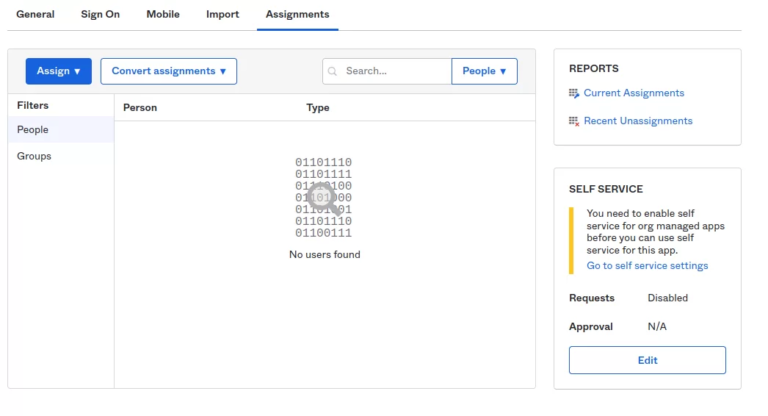
Click on the Assignment tab in the next screen.
Assign one or more users to this app by clicking on Assign drop down.
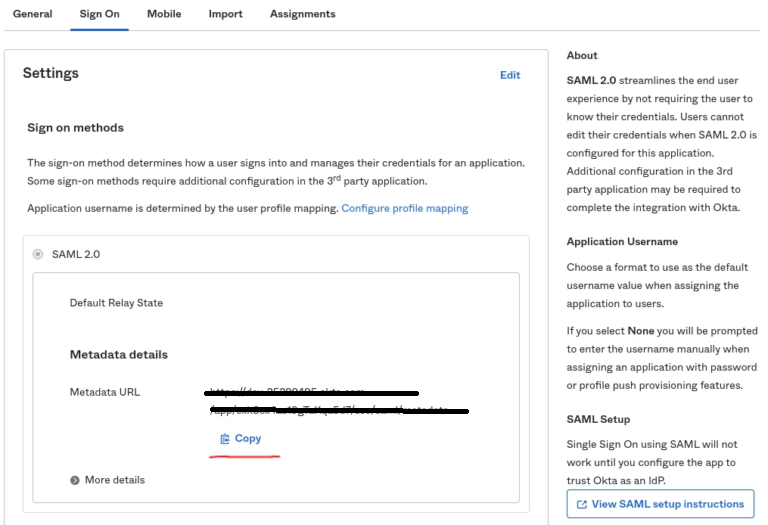
In the next step,click on Sign On tab.
By clicking on Copy, will get the link of Okta metadata URL.
Go to a new browser tab and open the Okta metadata URL.
Save the the XML locally by right clicking on the URL.
The downloaded external IDP metadata file will have to be updated in NirvaShare Login Profile.
Updating Login Profile with SAML Metadata
Make sure you have the SAML metadata XML file obtained from external IDP and follow the below steps to update SAML metadata in the Login Profile.
Log in to Admin Console as an administrator.
Click on Login Profiles from the left menu of the Admin Console.
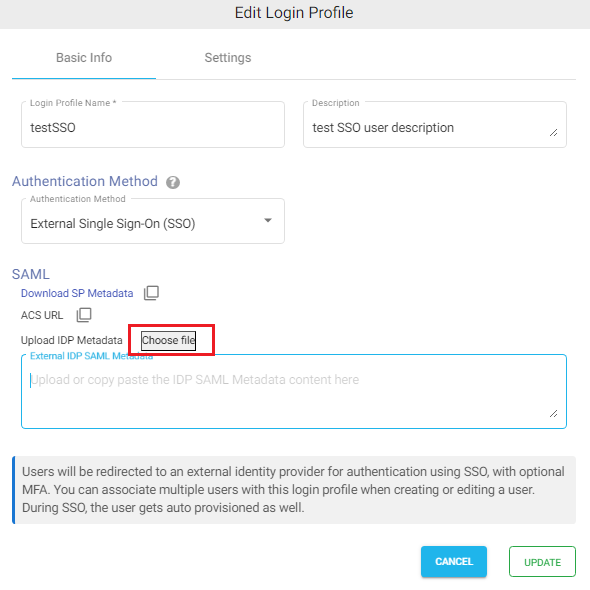
Edit the existing Login Profile of type External Single Sign On (SSO)
In the UploadIDP Metadata section click on the Choose File button and select the metadata file.
Click on UPDATE.
Shares
After all these steps, we can finally use SSO with Okta. For this let us create a folder share and enable SSO. Refer to the document mentioned below to create a new share from Storage. But remember to select the login profile we created in the above section during the process of sharing. You can create one or more shares as well and assign the same login profile.