< All Topics

WebDav Login Profile

This detailed document can help in creating a WebDav Login Profile which will allow the end user to access shared files from storage using as a mapped drive from their desktop using WebDav protocol.

Login Profile

Follow the below mentioned steps to create a new WebDav Login profile

  • Go to the admin console of NirvaShare and click on Login Profiles.
  • Click on CREATE button from the top right corner.
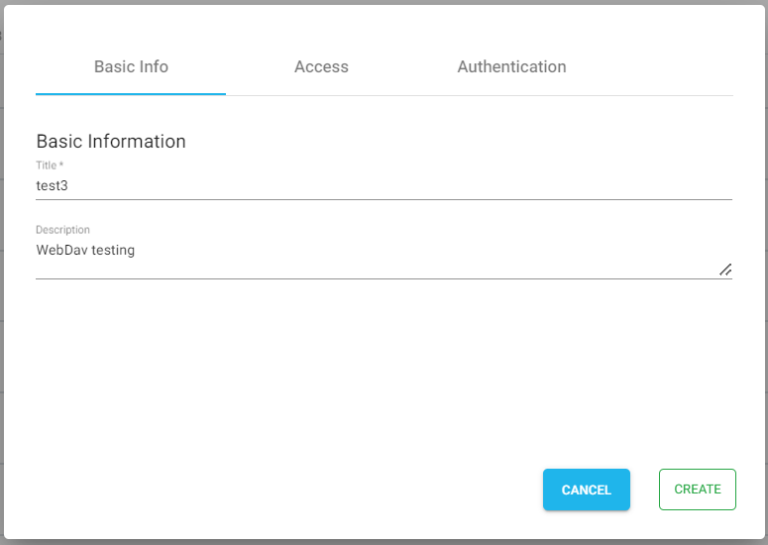
  • Go to the Basic Info tab, provide a name for the title and an optional  brief description.
Azure
  • In the next step, click on the Access tab.
  • (Optional) To restrict access to only a certain white listed IP address or a range, please refer to Access Restriction with IP Address.
  • Select the language. Default is English.
ip address
    • Now click on the Authentication tab.
    • In the Authentication method drop down, select on WebDav.
    • In the Login scheme drop down, select the login scheme.
    • Click on CREATE to create the Login Profile.
webdav login
Table of Contents