SSO Configuration for Admin Console
In this document, we will look in to the necessary configurations needed to configure Admin Console to enable SSO using external identity providers such as Microsoft Entra Id (Active Directory), IAM Identity Center, Okta, etc.
Prerequisites
Make sure, you have the SAML metadata file of the external identity provider before configuring Admin console.
NirvaShare Configuration
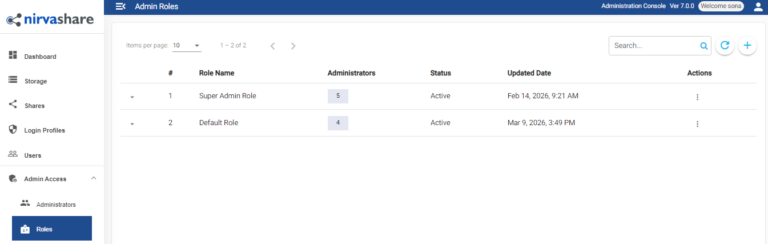
- Login to NirvaShare Admin Console and click on Admin Access menu.
- click on Roles in menu list.
- Edit the existing Default Role.
- Click on the Basic info tab, select the Full Access checkbox and click on UPDATE. At a later stage, you can change the access depending on the situation.
- In the Linux terminal, SSH to the server where NirvaShare is installed and create a file with the below path and filename. Make sure you login as a Root user.
/var/nirvashare/config.properties- Add the following entries in to the file.
ns_external_idp=true
ns_auto_create_user=true
ns_saml2_sp_company_name= <Your company name>
ns_saml2_sp_email=<your contact email id>
ns_saml2_sp_domain_url=https://<adminconsole domain name>
- Make sure you replace with a proper values for attributes names
ns_saml2_sp_company_name
ns_saml2_sp_email
ns_saml2_sp_domain_url - Save the config.properties.
- Restart Admin Console service using below command
docker restart nirvashare_adminExternal IDP Metadata
In case you have the SAML metadata file from an external IDP, please follow below steps to configure admin console, otherwise same can be configured later as well.
- Copy the SAML metadata file obtained from external identity provider to /var/nirvashare folder with filename as idp-metadata.xml as shown below.
/var/nirvashare/idp-metadata.xml- Restart Admin Console service using below command
docker restart nirvashare_adminNirvaShare SAML Metadata
While configuring external IDP, you may require the SAML metadata file of NirvaShare Admin Console, the same can be obtained using the below URL. Make sure to mention your domain name.
Metadata URL - https://admin.yourcompany.com/saml/0/metadataSave the content of above URL in the local file system. This will be the SAML metadata file of Admin Console of NirvaShare.
Certain external Identity Providers may instead require ACS and Entity Id URLs instead of metadata file. In those cases, please refer to below URLs.
ACS URL - https://<your domain>/saml/0/acs
Entity Id URL - https://<your domain>/saml/0/metadata