Files/Folders from cloud storage can be shared with users using WebDAV protocol. By default, WebDAV service is installed in NirvaShare and same can be enabled or disabled for all shares at settings level.
Enabling WebDav
Login to Admin Console and click on Settings from the left menu and then on User Access.
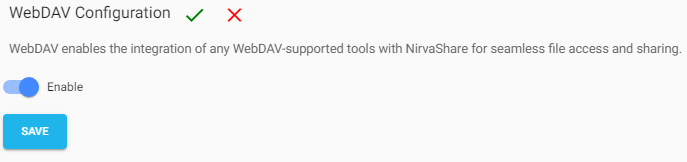
Edit WebDAV Configuration and click on Enable.
Save it to allow access to WebDAV service.
Disabling the configuration will prevent any WebDAV access across shares.