How to Access WebDAV Shares using Cyberduck
Cyberduck is commonly used for secure file transfers between a local and a remote computer in Microsoft Windows. It supports various file protocols like WebDav, FTP, SFTP etc. In this document, let us understand the procedure to use Cyberduck to access shared files from NirvaShare using the WebDAV protocol.
Prerequisites
In order to share files seamlessly using the WebDAV protocol, you can refer to the following document.
A Login Profile should be created in NirvaShare to share or access files. Ensure that you have enabled WebDAV in Login Profile. The following document provides the stepwise procedure to create one.
To share files using WebDAV, you can make use of the following document. Make sure that you select the Login Profile created in the above section.
Cyberduck Configuration
You can make use of the following steps to connect with WebDAV and share files from NirvaShare using Cyberduck.
- Login to Admin Console of NirvaShare
- In the dash board, click on Login Profiles.
- Click and Expand the Login profile of type Form Based (Multiple Access Users) that you want to share files with users.
- Copy the WebDAV URL .
- Also make a note of the username and password of the access users assigned to the login profile.
- Make sure there are Shares available for this login profile as well.

- Open Cyberduck from your desktop.
- Click on File.
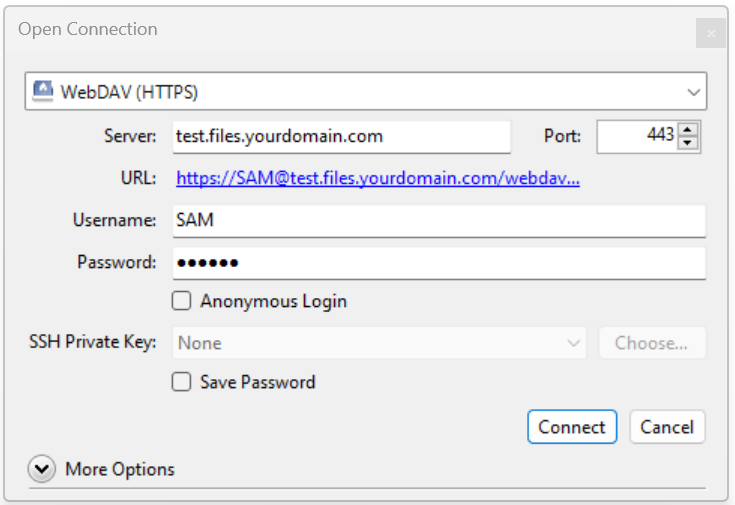
- In the Open Connection window, under the dropdown, choose WebDAV(HTTPS).
- Paste the WebDAV URL from the NirvaShare Admin console in the Server box.
- Make sure to enter port number based on the configuration.
- Provide the access Username and Password.

- Click on Connect.
- After successfully connecting, all the available shares will be listed as folders.
- User can perform file operations such as upload, delete, edit, etc. based on the access permission granted to the share.

