< All Topics

Search Files Using Index Service

Usually it is quite difficult for users to search for a particular file in object storage as these object storage of organisations have huge terabytes of storage. NirvaShare has a built-in index service through which users can search files extensively inside the folder structure of the object storage like AWS S3, Azure Blob, Digital ocean spaces, etc. Users can search files based on name patterns using wildcard syntax effectively and in a short duration.

Enable Index Service

To allow users from both Admin Console and User App to search files efficiently using indexed metadata, the Storage Search Service must be enabled. Follow the steps below to enable and configure the indexing service.

  • Login to Admin Console as a Super Administrator.
  • Click Settings from the left menu.
  • Select Search Service and open the configuration page.
  • Enable the Storage Search Service toggle.
  • A passphrase will be automatically generated. Leave the generated value as default unless a custom value is required.

Configure the available index options if needed:

  • Use index for Download – Allows downloads to use indexed metadata for faster access especially while downloading large number of files.
  • Use index for File / Folder Properties – Uses the index to retrieve file or folder properties quickly.
  • Use index for Delete – Uses indexed information when deleting files or folders for large set files.
  • Enable Use External Index Service if NirvaShare Search Service is deployed externally and provide the externally IP with port.
  • Click SAVE to apply the configuration.

Manual Indexing

  • Select the required bucket or root container from the Buckets dropdown list.
  • Click RE-INDEX to start the indexing process.
  • The system will begin indexing files in the selected bucket, which may take several minutes depending on the number of files present.
  • While indexing is in progress, the status can be checked by clicking on refresh icon. If needed, you can click ABORT to stop the ongoing indexing process.
  • After the indexing is completed, a notification is added in dashboard as well.

Purge

The Purge option permanently removes all indexed data from the system. After performing a purge, the existing index will be deleted, and search functionality will not work until the indexing process is performed again.

To purge indexed data:

  • Navigate to the Purge section on the Storage Search Service page.
  • Click PURGE to remove all indexed data.
  • After purging, you must run RE-INDEX again to rebuild the index and enable search functionality.

Search Files

Once the index service is enabled and files are indexed, users from Admin Console and User app can search files based on name or pattern.

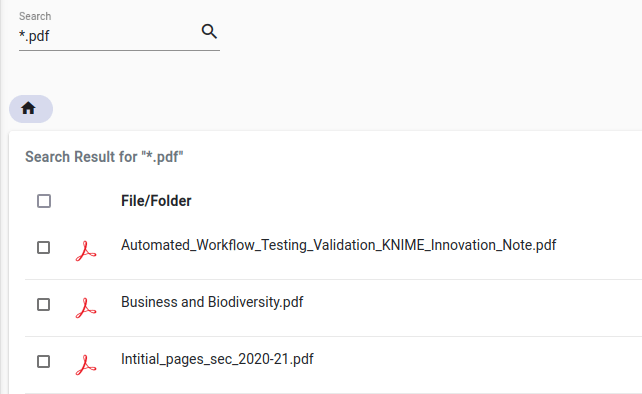
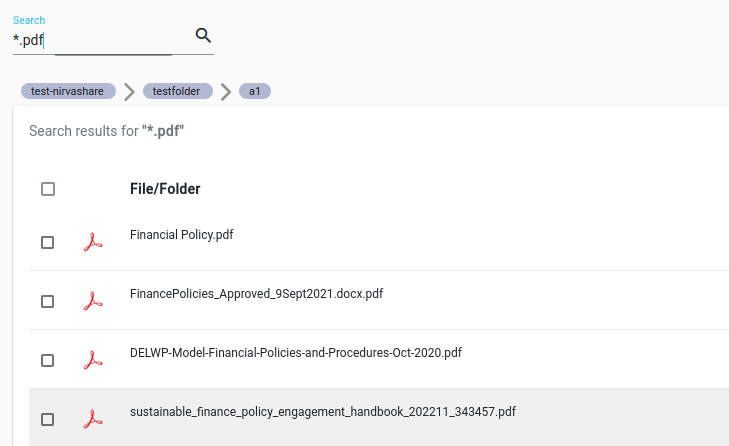
The Search supports wild card patterns and is case insensitive. Below are few examples

  • woo : Searches files whose name partly match to woo.
  • *.pdf:  Searches files whose extension ends with pdf.
  • n*.pdf: Searches files that have an extension of pdf whose filename starts with “n”.
indexFiles

To search files in a specific folder, please navigate to sub folders and perform the search. The resultant files will be limited to the current folder and its sub folders.

result
Table of Contents